Installation Videos
On this page you’ll find a handful of helpful videos that take you through the steps of installing Fibo wall panels

We recommend carefully reading the installation instructions and watching our installation videos to ensure proper installation according to certified standards.
Step-By-Step Installation Videos
Preparations before installing Fibo wall systems
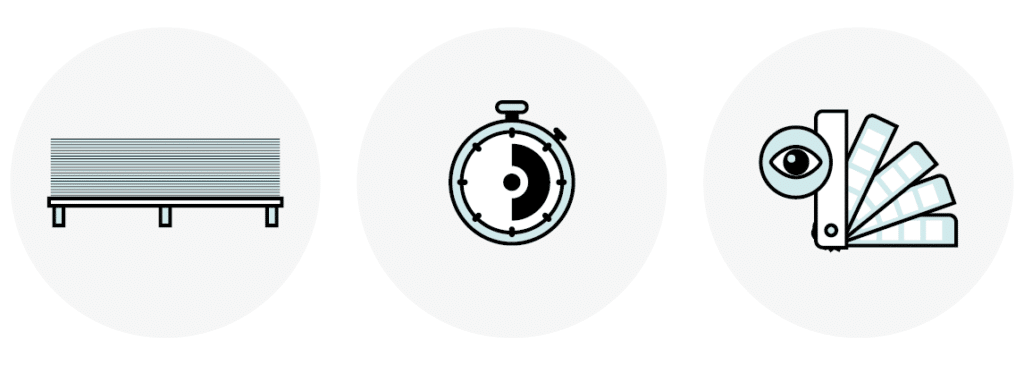
Panel handling before opening packages
1. Keep panels in the plastic packaging and in a dry environment. Lay flat when storing and transporting.
2. Fibo wall panels must be kept at room temperature for up to 72 hours prior to installation. Acclimation period can very depending on storage temperature and installation site temperature. Contact us with any questions info@fibosystem.com.
3. Remove the plastic wrapping and check for any surface damage.
4. Carefully move the panels, avoiding any scapes and scratches along the edges and surfaces.
Preparing the floor and back wall
The floor must be prepared before installing panels on the wall. The floor membrane must extend at least 6-inches up from the floor. Fibo panels can be installed on existing walls or directly on the wall studs. The studs should be 24-inches apart and 32-inches tall. When installing on wall studs, the center distance must be 24-inches and the horizontal blocks/nail strokes must have a center distance of 32-inches. The wall must be reinforced where you hang a sink basin or other bathroom fixtures. When installing Fibo on existing walls, you can use one of the following three alternatives:
- Plywood board 0.5-0.6 inches
- 0.7-inch rough panel (mounted horizontally c/c 12-inches)
- 0.5-inch OSB klasse 3
When installing on concrete or steel studs, contact our customer service department.
Grouting and cleaning during installation
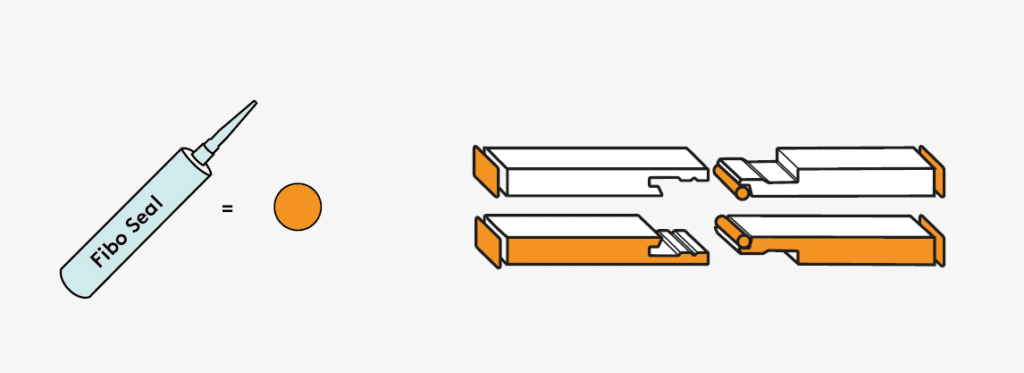
Click-lock, cut surfaces and profiles must be cleaned before grouting with Fibo Seal. We recommend using Fibo Seal on all plate joints and corner profiles.
Tools you need

Find the correct accessories
Fibo installation accessories come from our own line of wall system completion products – and ensure both easy installation and a perfect result.
Frequently asked questions
Yes! Our panels are tested and approved for wet rooms. The panels also obtain a Greenguard certification
Many of our panel models are delivered in 10-foot heights. If the model you choose cannot be found in the desired height, we have a list you can use to add the wanted height to Fibo.
Yes, Fibo is approved for all wet room zones, for example, in the bathroom shower. This is due to the membrane in the sealing layer. Our panels are excellent in all wet rooms, but also where extra-durable walls are needed, like in hallways, garages or laundry rooms. Fibo Kitchen Board is built the same way and also waterproof.
Fibo can be used in most rooms, but there are exceptions. Like swimming pools and saunas. On the other hand, Fibo is excellent for changing rooms, showers and other spaces adjacent to saunas and swimming pools.
The most safe and versatile installation method is with the OSB strips. See how on this link.
Measure the total length (inch) of the walls, including windows and doors. Then divide the total length of the walls by 24,5 inch. Round up to the nearest whole number. The sum is the number of panels you need. Each package contains two panels. Remember accessories!
It is easy to keep Fibo clean – and you avoid all the dirt that tends to stick to tile grout. Use a clean cloth and warm water. For stubborn dirt, you can use a non-abrasive cleaner. You will find more information in our maintenance instructions.
Use the Purchase calculator to find out what’s necessary for your installation. If you need more guidance please contact your supplier of Fibo panels, or Fibo directly at info@fibosystemusa.com.
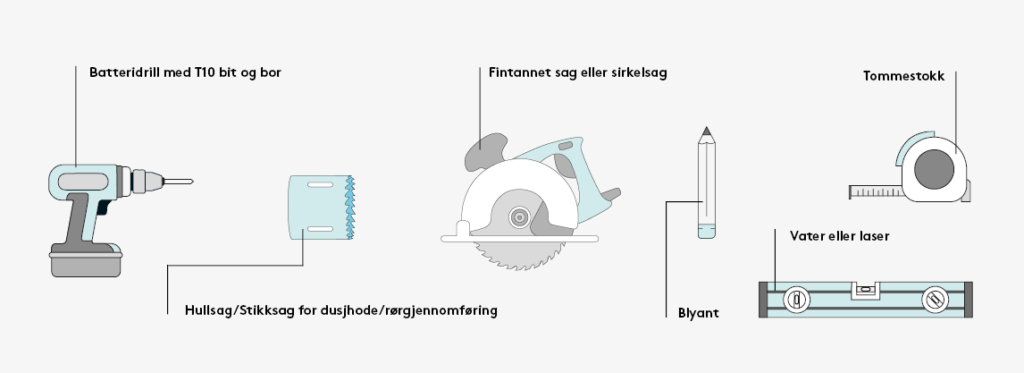
To cut and install Fibo, you need a sircular saw, battery drill, drill & screwbits, holesaw, utility knife, level, measuring tape, pencil, hacksaw, and a caulking gun.
Fibo is both easier and faster to install than laying tiles. It’s also cheaper. You can either assemble yourself or get help from a craftsman. Proceed carefully, follow our installation instructions, take a picture showing where the joints are, overlap the membrane and use the checklist we provide to help document the installation. This way you get a great result with limited lifetime warranty for residential installations and 25 years for commercial installations. If you are unsure on how to install Fibo, please contact our customer service
Everything you need to know is in our installation instructions. It pays to prepare well in advance!
Fibo must be stored lying on a flat surface at room temperature for three days before installation. In addition, Fibo must always be stored lying on a flat surface so that the packaging remains unbroken. The material must be acclimated to the new environment for three days.
The Product will not delaminate, stain, fade or crack during the Warranty period as a result of defects in materials and manufacture of the Product, when properly installed in accordance with Fibo’s installation instructions and cared for in accordance with Fibo’s instructions for Cleaning and Maintenance or Product Guide, more details in Technical Data

